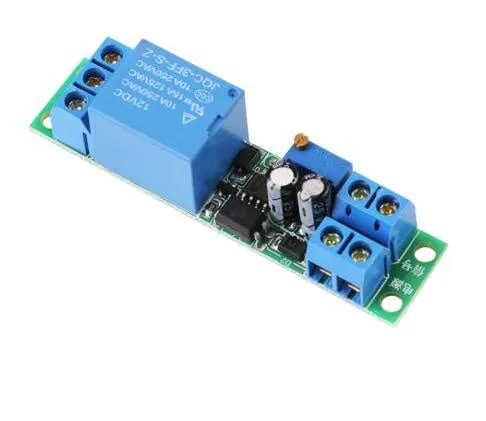
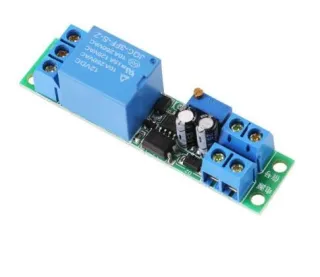
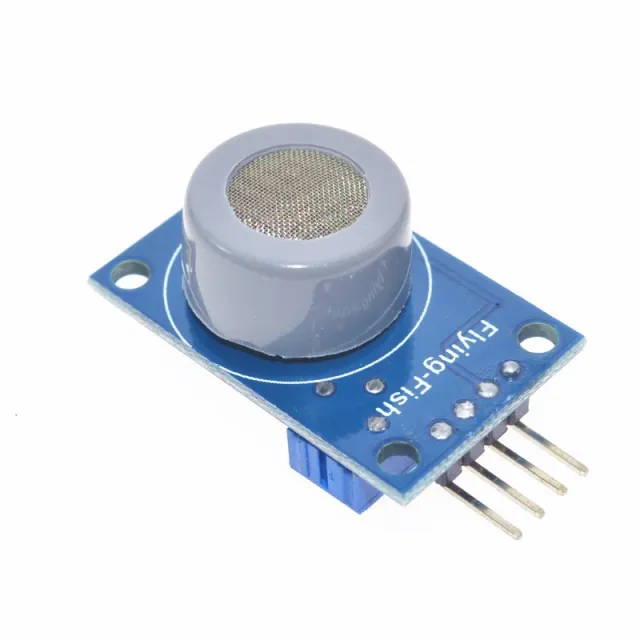
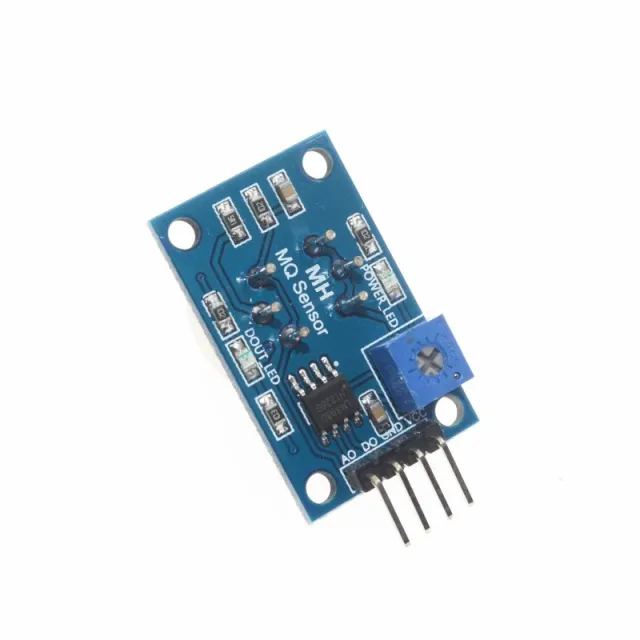
Instelbare 12V tijdvertraging relaismodule voor schakelingen met uitschakelvertraging en instelbare tijd.
SKU: OT3260 Número do artigo: NA445 EAN: 8720618231529 Localização: F06.03
Alternativa
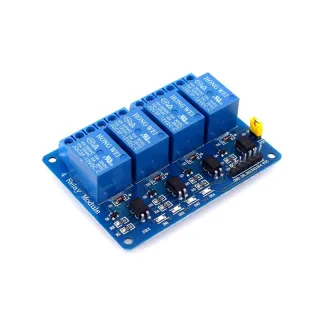
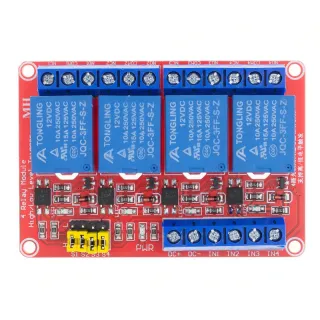
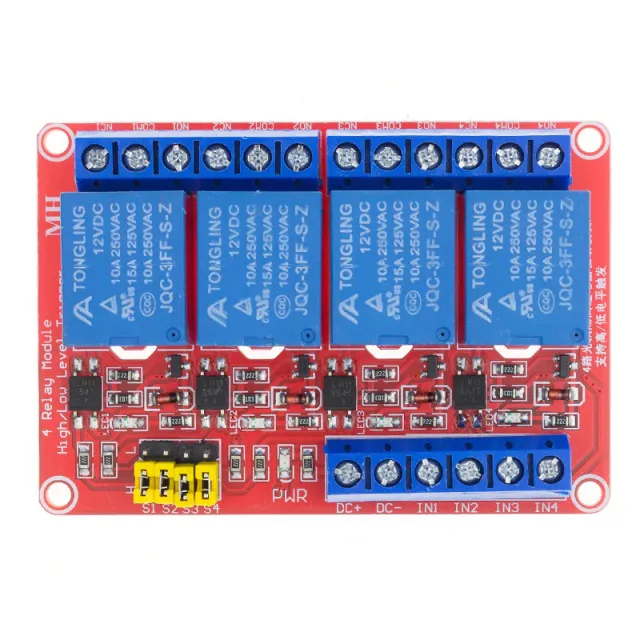
Módulo de Relé 12v | 4 canais
€ 3,30
Ver esta alternativa
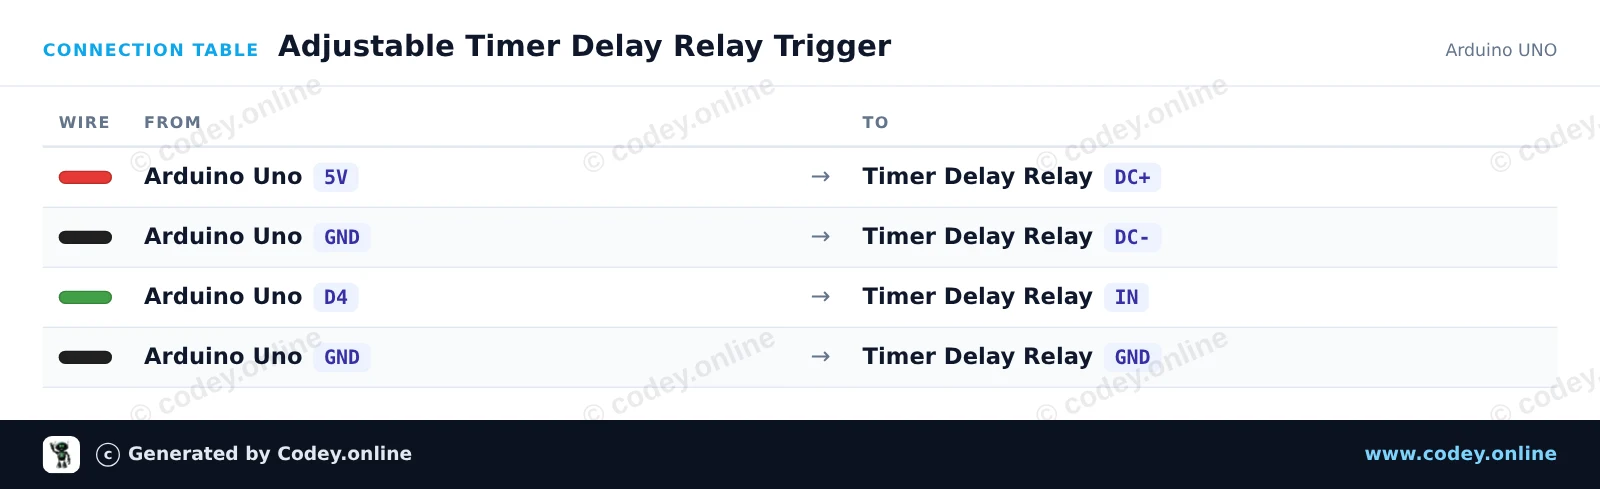
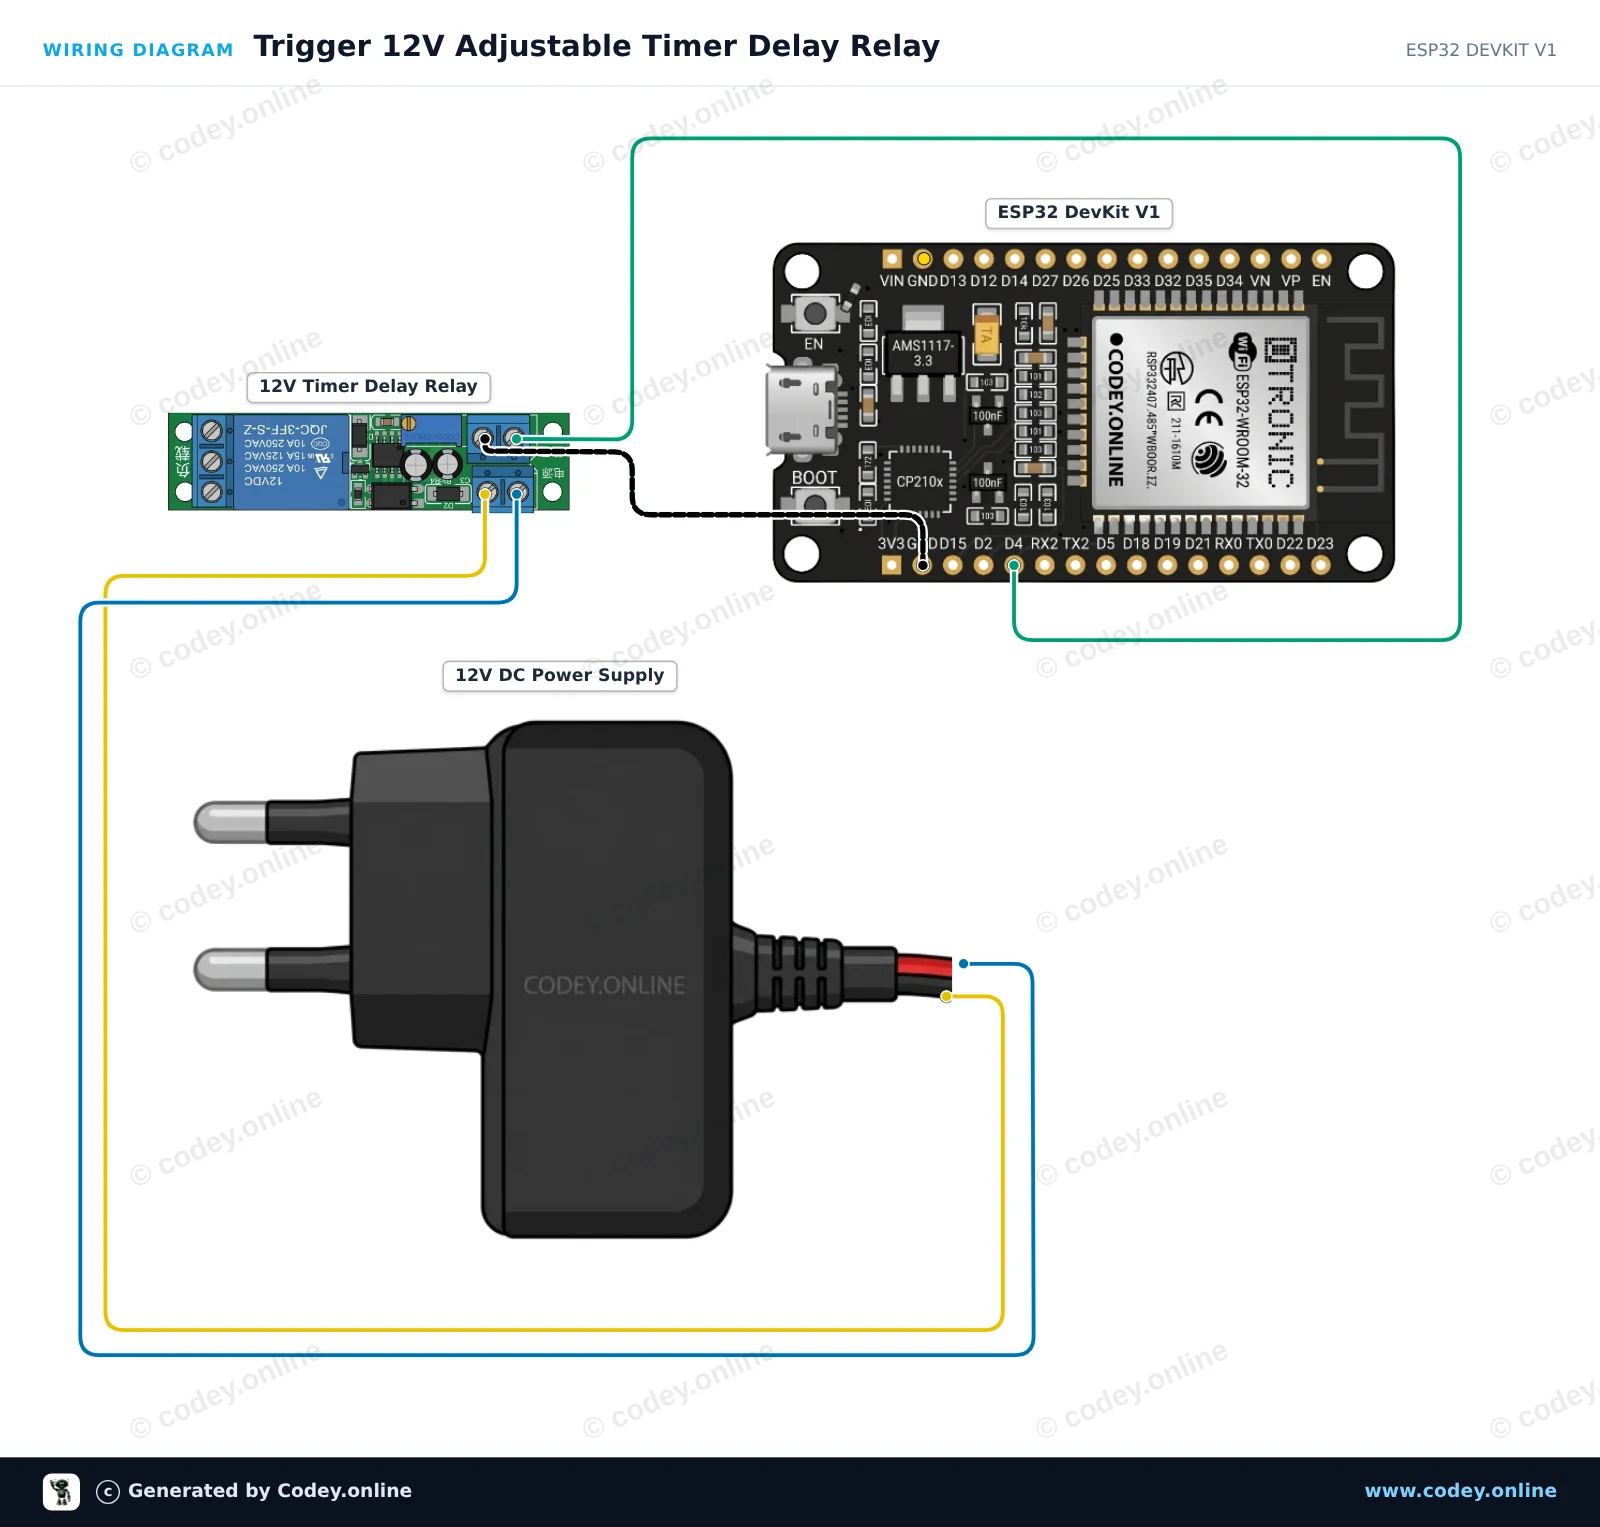
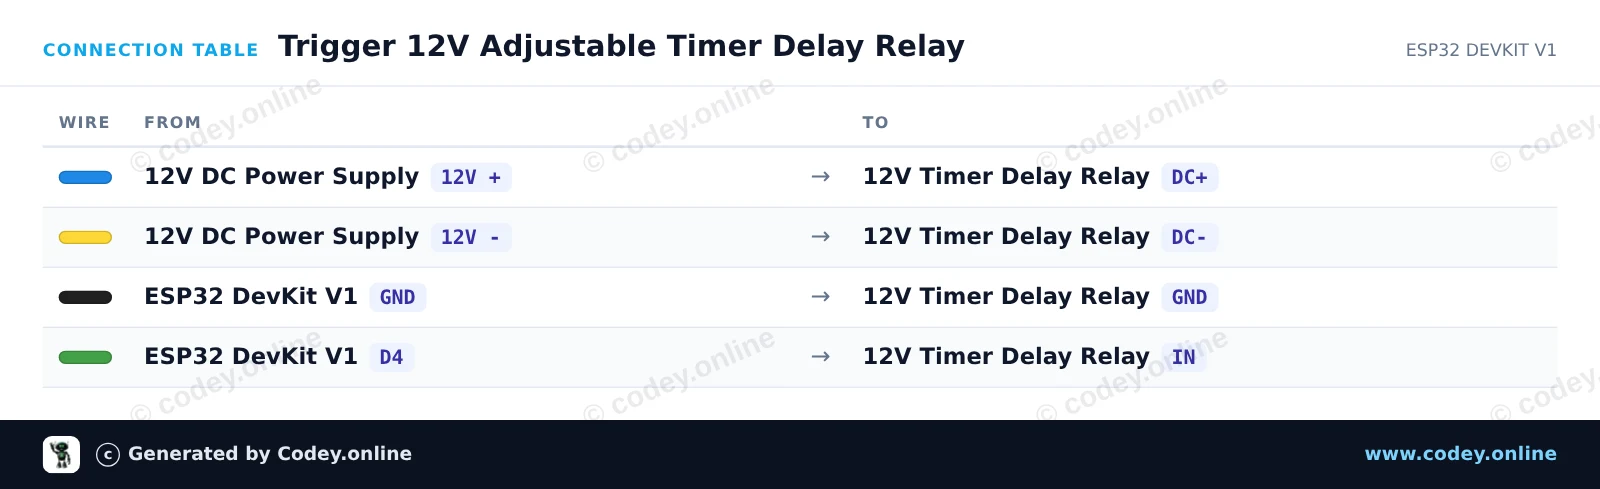
Como ligar o Módulo relé com atraso de tempo ajustável 12V a um Arduino UNO ou ESP32, com um sketch de exemplo que podes carregar já.
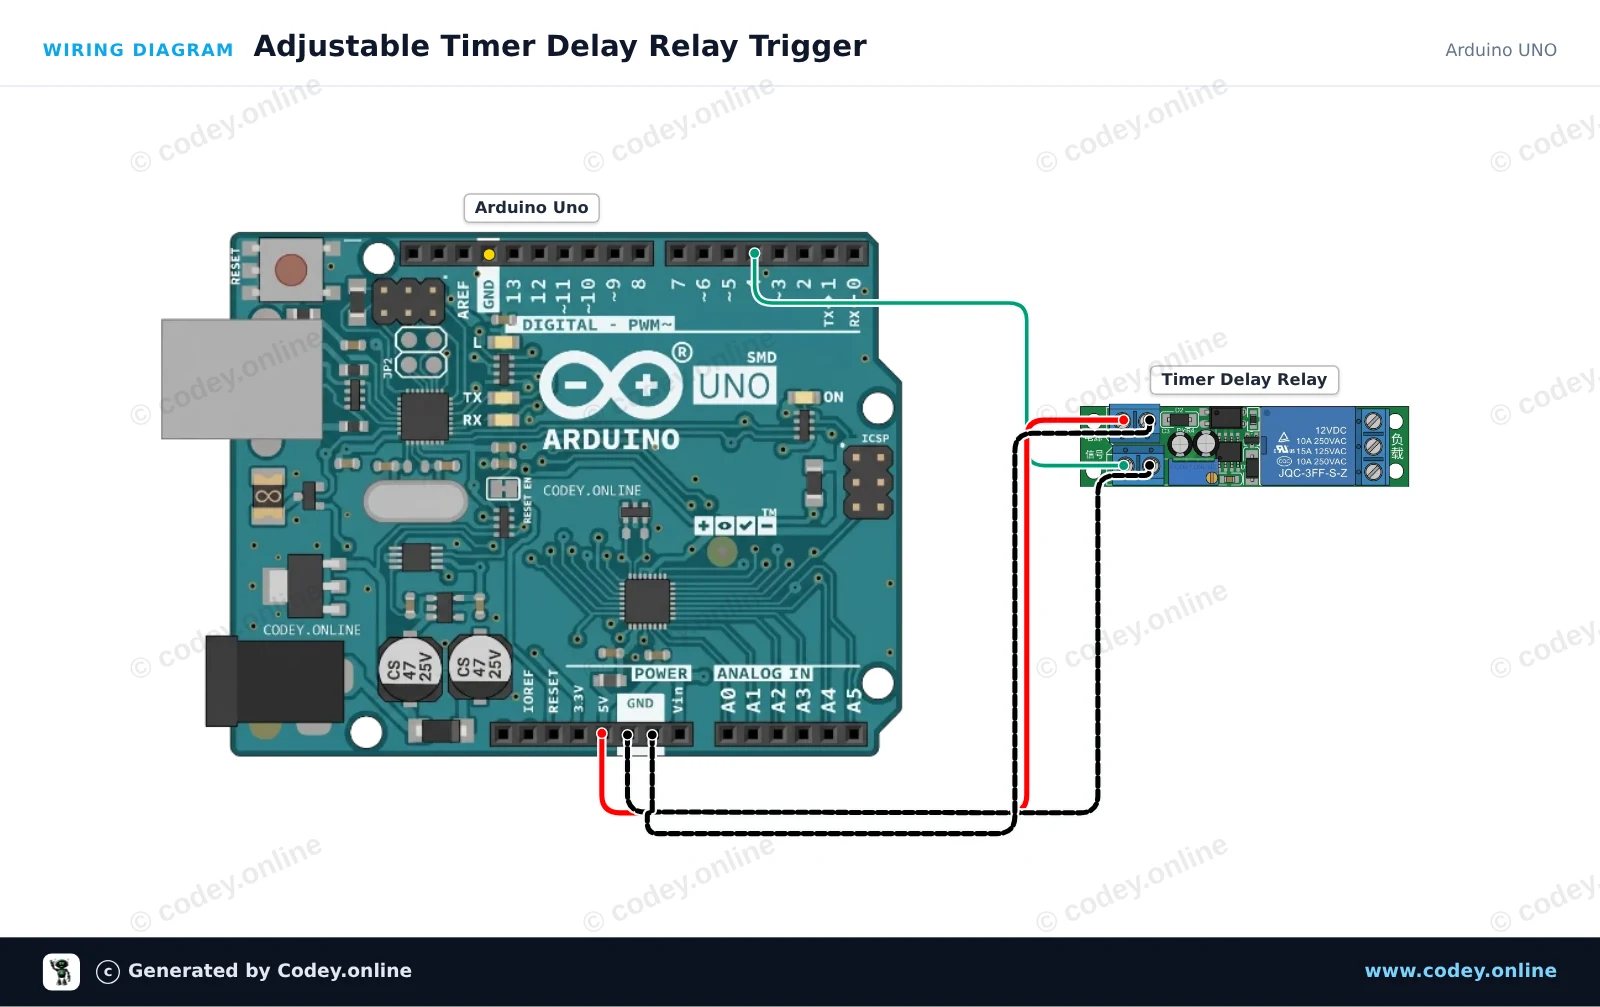
This project demonstrates how to trigger an adjustable timer delay relay module using an Arduino Uno. The Arduino sends a short pulse from digital pin 4 to the IN trigger pin, activating the onboard timer delay cycle. Adjust the potentiometer on the relay module to change the duration of the relay activation.
/*
* ==================================================================
* Generated by Codey.online — https://www.codey.online
* ==================================================================
* Project : Adjustable Timer Delay Relay Trigger
* Board : Arduino UNO (arduino:avr:uno)
* Parts : DC 12V adjustable timer delay, time delay relay turn off switch module time relay time switch 0~25sec for smart home, automatic control
* Libraries : none (built-in)
*
* Codey Online is an AI-powered browser IDE for Arduino and ESP32.
* Describe your project and Codey writes the code, draws the wiring
* diagram and uploads it to your board, straight from the browser.
* This code is free to use, modify and share, without warranty.
* ==================================================================
*/
// Timer Delay Relay Module Demo
// Sends a trigger pulse to start the module's countdown delay.
const int triggerPin = 4;
void setup() {
pinMode(triggerPin, OUTPUT);
digitalWrite(triggerPin, LOW);
Serial.begin(115200);
Serial.println(F("Timer Delay Relay Demo Initialized."));
}
void loop() {
Serial.println(F("Triggering relay delay cycle..."));
// Send a 200 ms HIGH pulse to trigger the module
digitalWrite(triggerPin, HIGH);
delay(200);
digitalWrite(triggerPin, LOW);
Serial.println(F("Trigger sent. Waiting for delay cycle to complete..."));
// Wait 10 seconds before triggering the next cycle
delay(10000);
}
Wiring diagram and example code generated by Codey.online — https://www.codey.online
This project demonstrates triggering an adjustable 12V time delay relay module using an ESP32. The ESP32 sends a short trigger pulse to start the countdown, and the relay stays energized for the duration set by the onboard potentiometer (0 to 25 seconds).
/*
* ==================================================================
* Generated by Codey.online — https://www.codey.online
* ==================================================================
* Project : Trigger 12V Adjustable Timer Delay Relay
* Board : ESP32 DEVKIT V1 (esp32:esp32:esp32doit-devkit-v1)
* Parts : DC 12V adjustable timer delay, time delay relay turn off switch module time relay time switch 0~25sec for smart home, automatic control
* Libraries : none (built-in)
*
* Codey Online is an AI-powered browser IDE for Arduino and ESP32.
* Describe your project and Codey writes the code, draws the wiring
* diagram and uploads it to your board, straight from the browser.
* This code is free to use, modify and share, without warranty.
* ==================================================================
*/
// Pin connected to the IN trigger pin of the timer relay module
const int TRIGGER_PIN = 4;
void setup() {
Serial.begin(115200);
pinMode(TRIGGER_PIN, OUTPUT);
digitalWrite(TRIGGER_PIN, LOW);
Serial.println("ESP32 12V Timer Delay Relay Module Initialized");
delay(1000);
}
void loop() {
Serial.println("Sending trigger pulse...");
// Send a 200 ms pulse to activate the timer
digitalWrite(TRIGGER_PIN, HIGH);
delay(200);
digitalWrite(TRIGGER_PIN, LOW);
Serial.println("Triggered! The relay will remain active for the duration set by the potentiometer.");
// Wait 15 seconds before triggering the next cycle
delay(15000);
}
Wiring diagram and example code generated by Codey.online — https://www.codey.online
Este módulo relé com atraso de tempo funciona a 12V e pode ser ajustado através da resistência de parafuso.
Tensão de funcionamento: DC 12V
Consumo de corrente (quando ligado): ~46mA
Tensão máxima através do relé: 30VDC ou 250VAC
Corrente máxima através do relé: 10A
Atraso ajustável entre 0.1 e 25 segundos
Para instruções e um esquema de ligação, temos o Guia de início rápido OTRONIC para o módulo relé com atraso de tempo ajustável 12V disponível para si.
Instruções:
Este módulo relé com atraso de tempo ajustável OTRONIC® tem um atraso ajustável para desligar (desativação).

Testar o relé
Pode testar o tempo definido do relé sem um controlo externo.
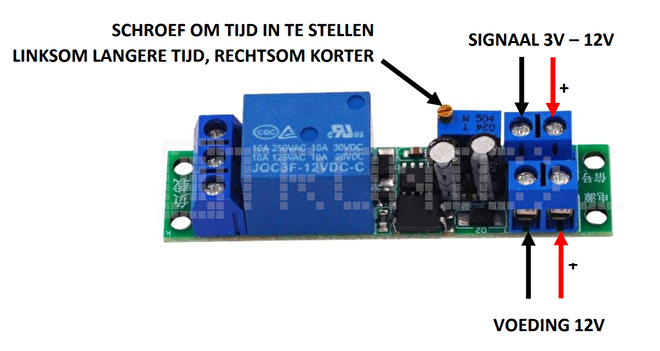
Ligue a alimentação de 12V a VCC e GND (alimentação). Sem sinal, o relé executará uma vez o
atraso de tempo. Pode ouvir isso pelo clique do relé.
Use a resistência de parafuso para ajustar o tempo. No sentido anti-horário para um tempo mais longo e no sentido horário
para um tempo mais curto.
ATENÇÃO: São necessárias várias voltas da resistência para ajustar o tempo.
Dimensões
Comprimento: 6,68cm
Largura: 1,6cm
Altura: 1,68cm
| Largura | 1,6 cm |
|---|---|
| Tensão de trabalho | DC 12V |
| Comprimento | 6,68 cm |
| Consumo de energia | ~46mA |
| Altura | 1,68 cm |
| Corrente | 10A |
| Atraso de tempo | 0.1 - 25 s |
Era isto que eu queria
Pequeno demais
Pode precisar de um pouco mais de descrição e de um desenho elétrico
Esta encomenda mais 1 módulo extra porque na 1.ª encomenda 1 estava defeituoso, excelente.
Exatamente o que eu queria
Funciona muito bem
Funciona bem
Funciona como deve ser.
Muito bom
Módulo fiável para muitas aplicações.
Bonito e pequeno, e funciona perfeitamente para o uso que lhe dou.
funciona bem, o tempo era curto demais, mas um pouco de jeito resolve isso!
um pequeno ajuste RC e agora fica em 12...18 minutos.
Não ficas satisfeito? Tens 30 dias após a receção para devolver o produto.
Tudo sobre devoluções
Módulo relé com atraso de tempo ajustável 12V