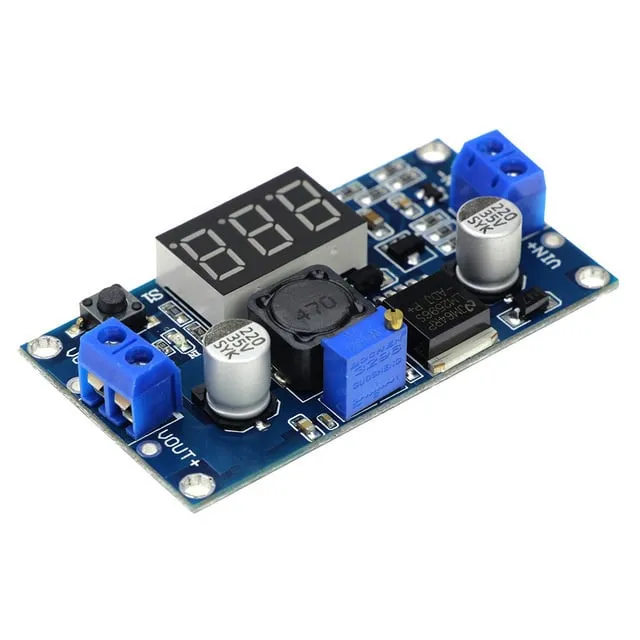
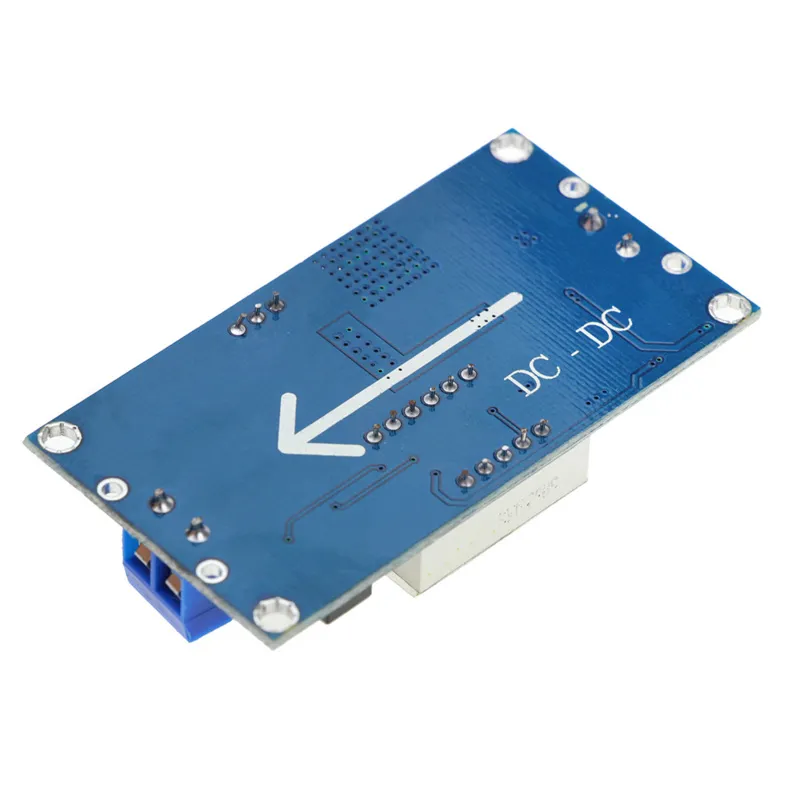
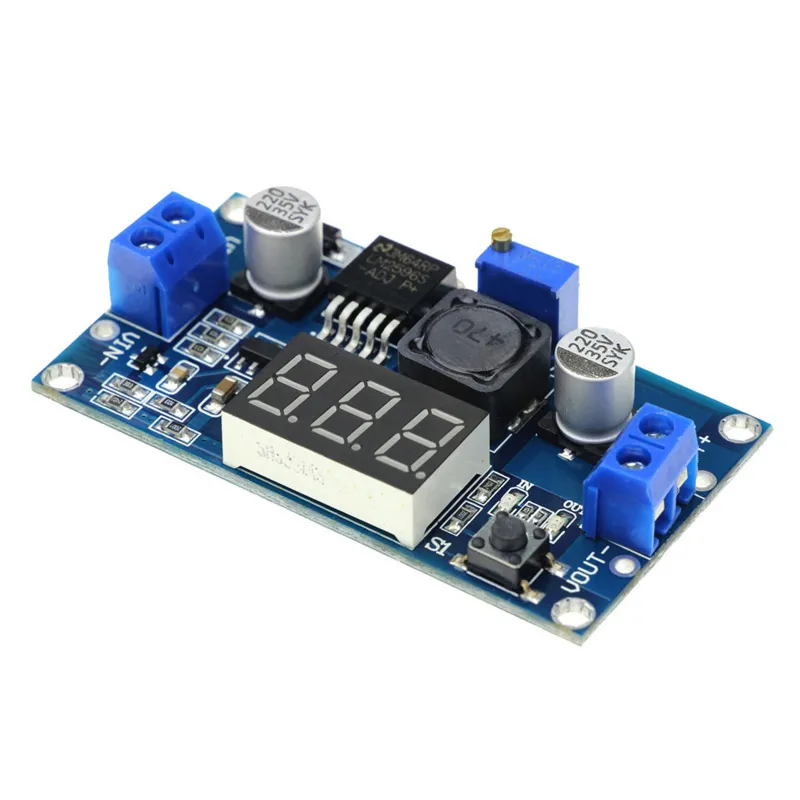
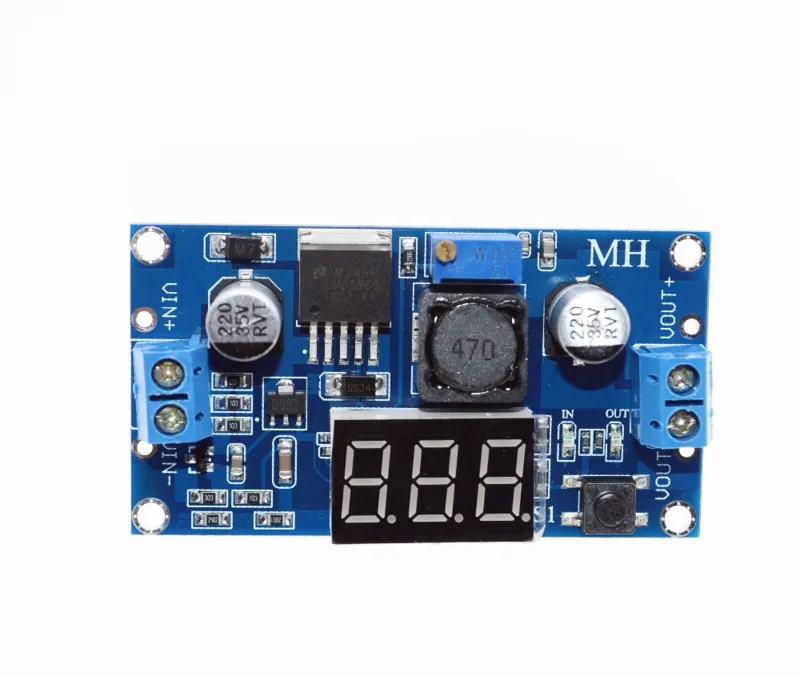
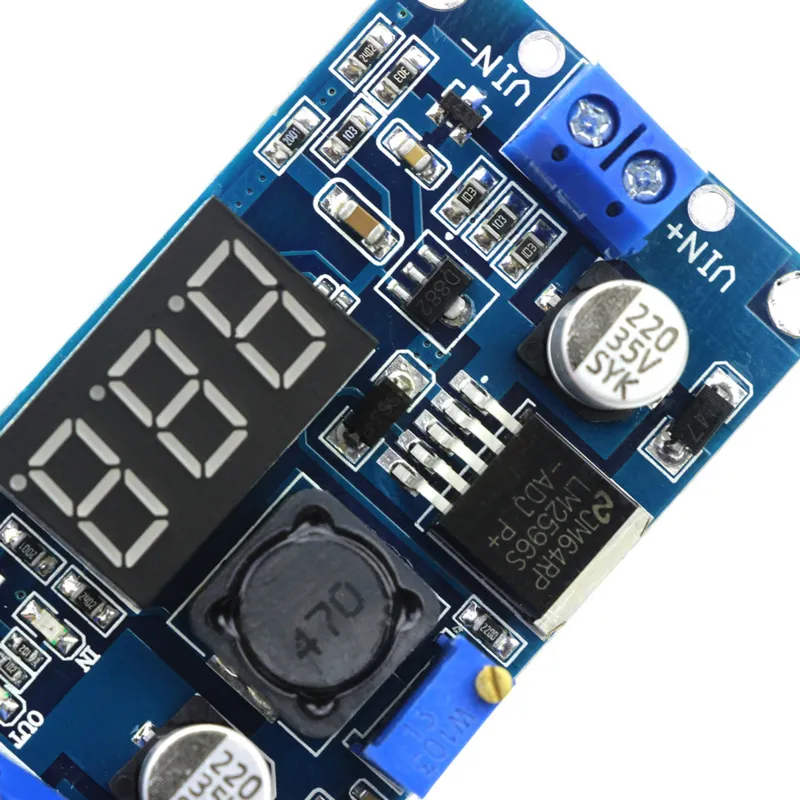
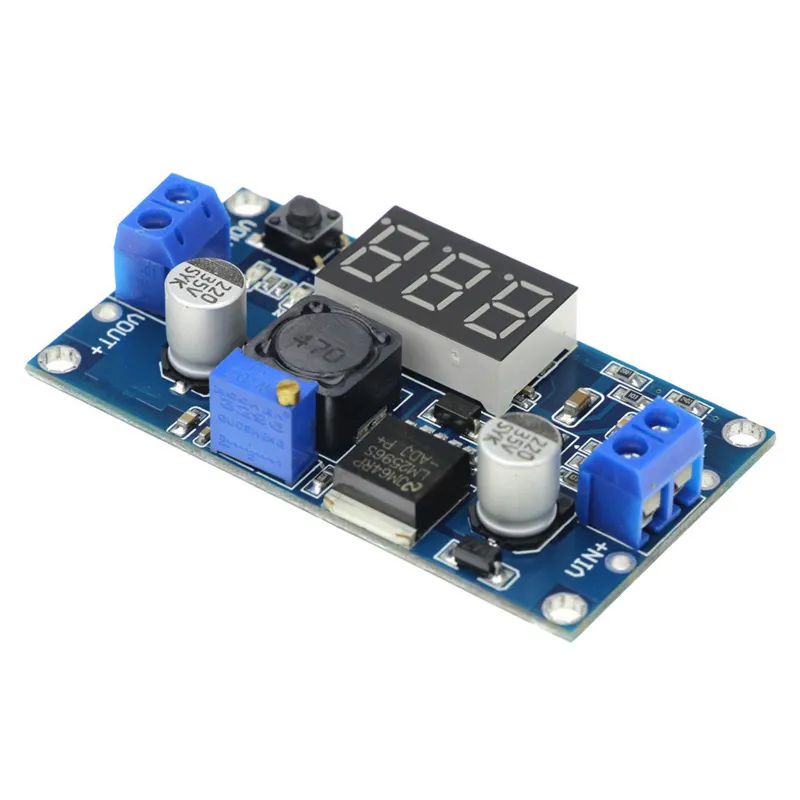
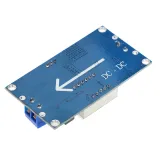
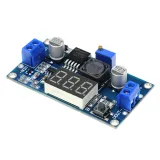
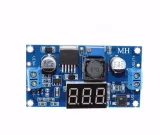
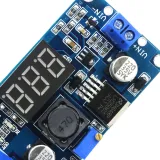
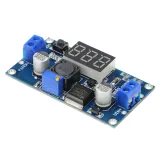
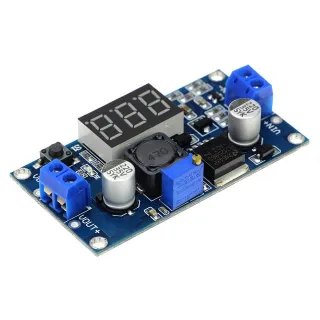
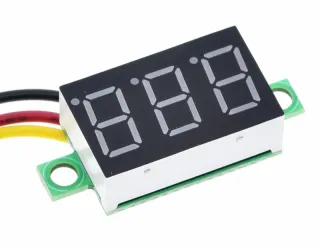
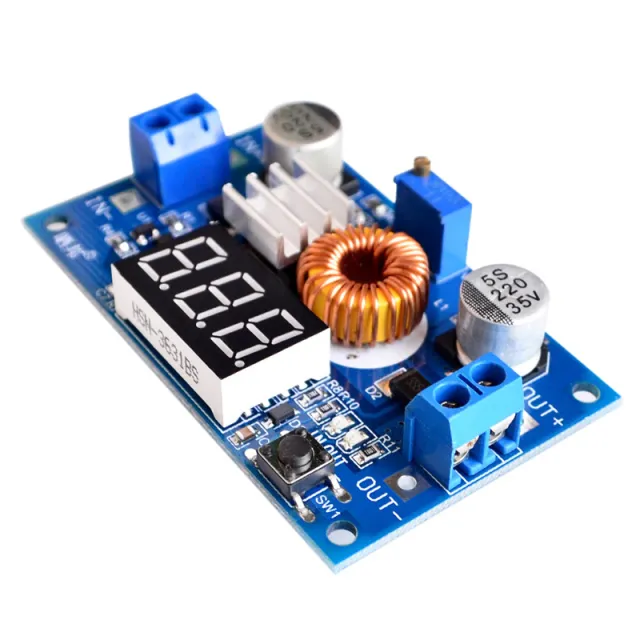
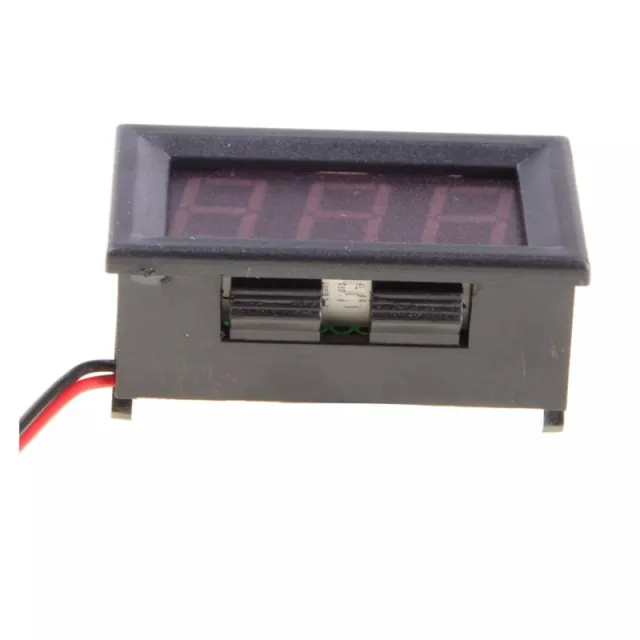
Instelbare step-down module voor het verlagen van spanning, met voltmeterdisplay voor toepassingen tot 3A.
SKU: OT3593 Número do artigo: NA068 EAN: 8720618489616 Localização: H04.03
Alternativa
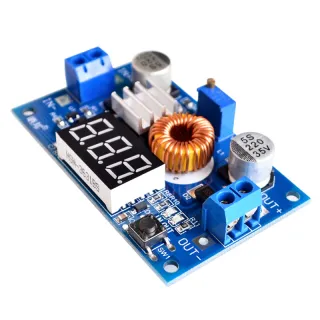
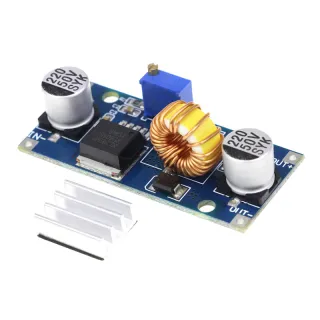
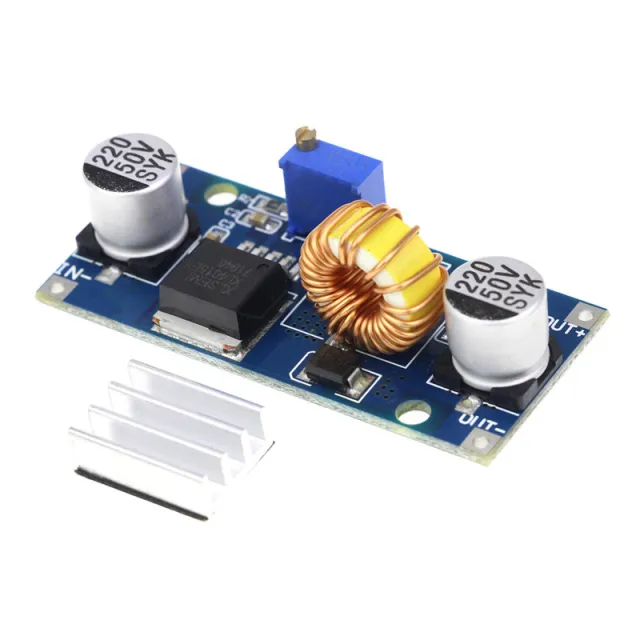
5A 75W XL4015 Conversor DC-DC Módulo Step-Down Ajustável com display voltímetro
€ 4,99
Ver esta alternativa
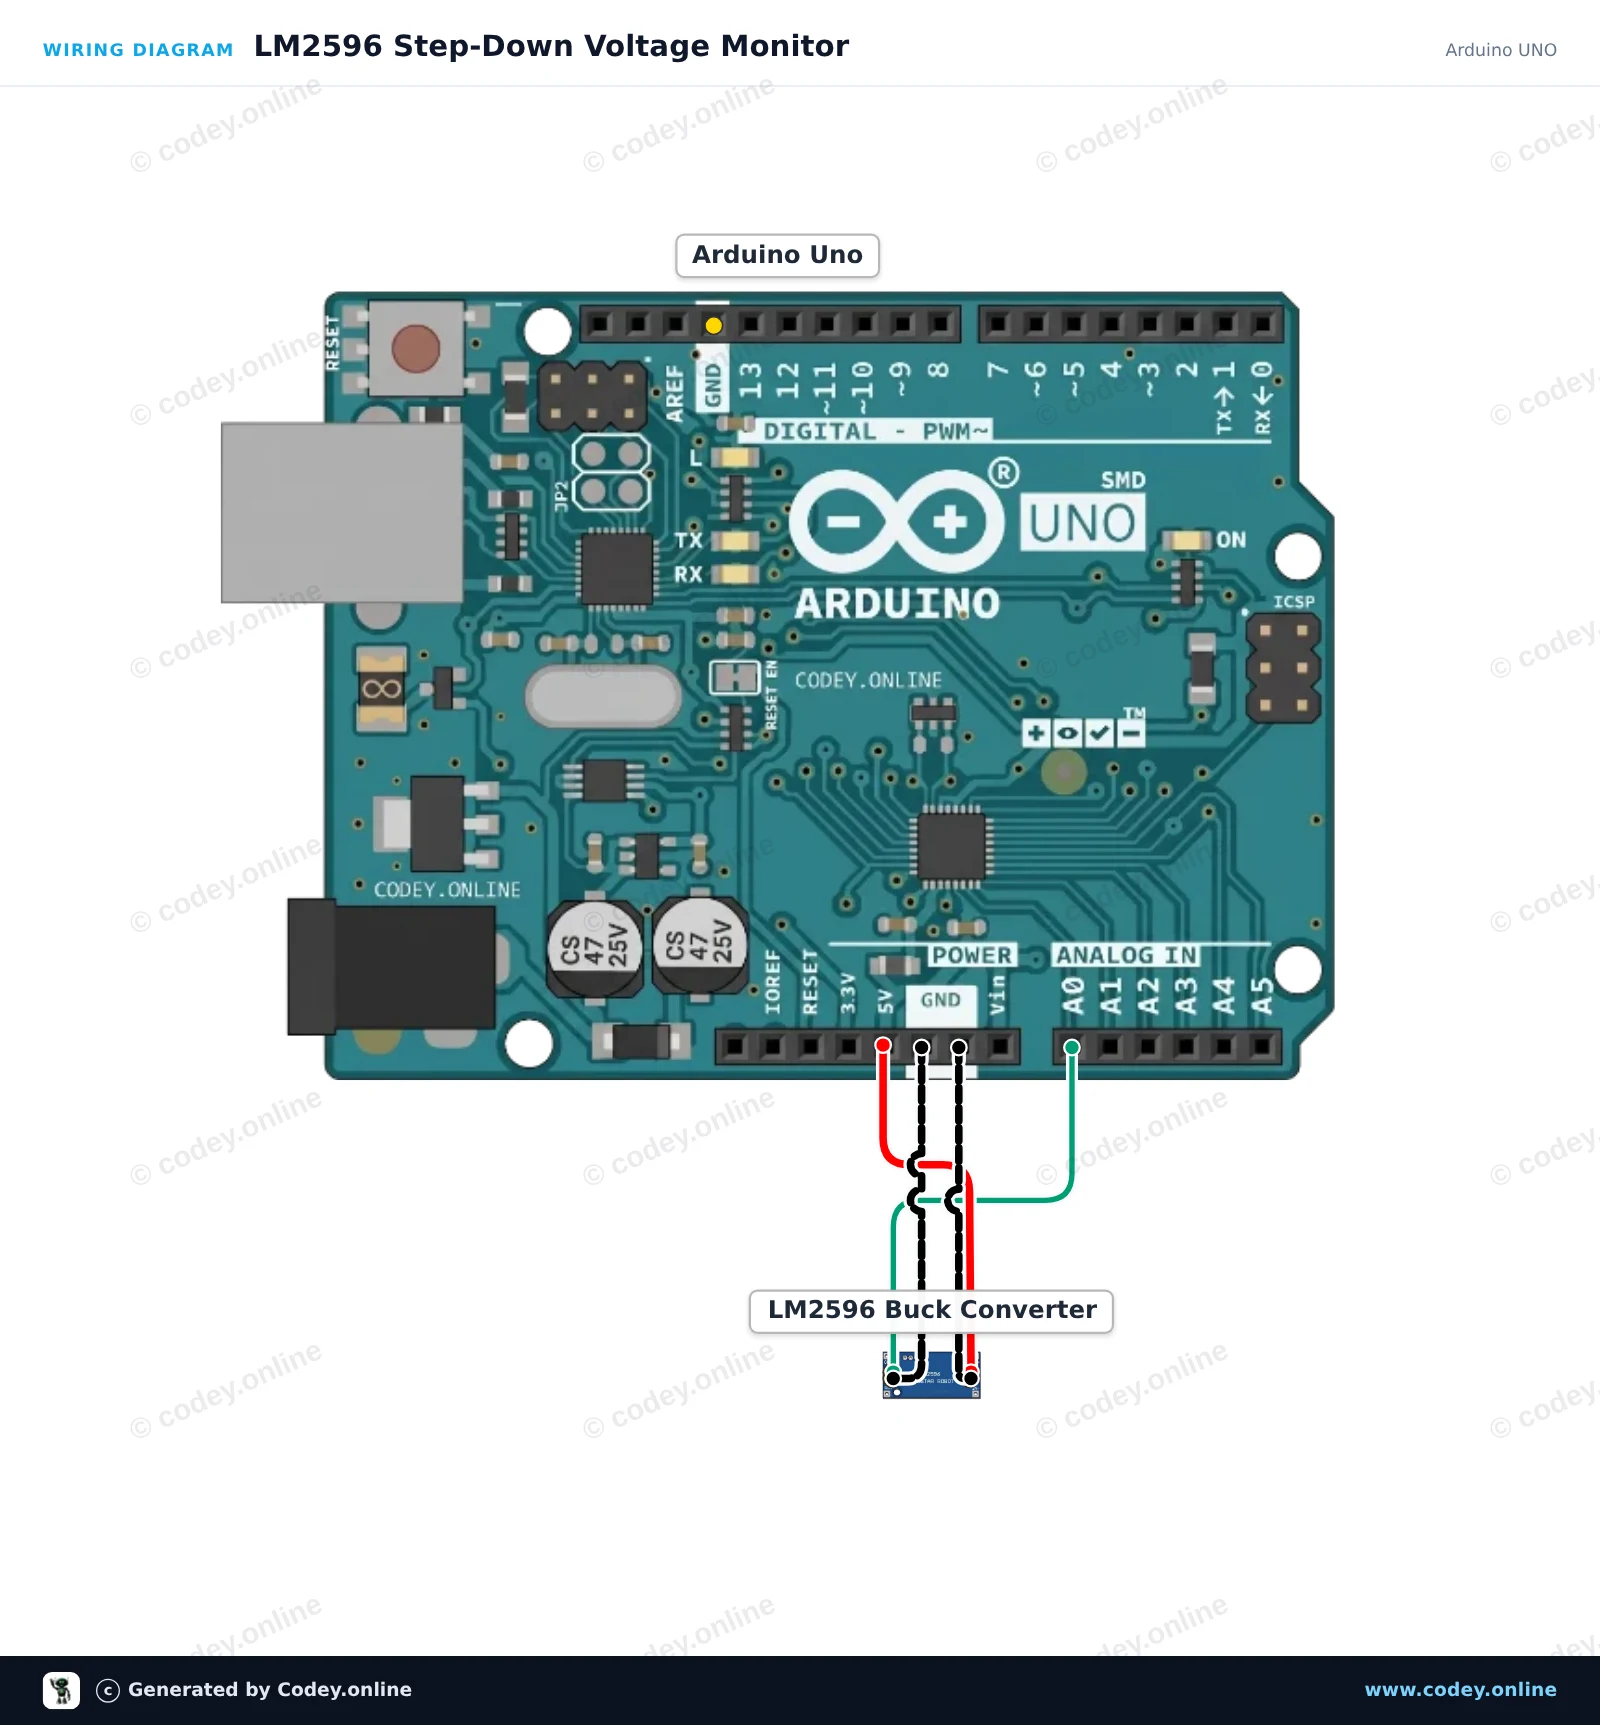
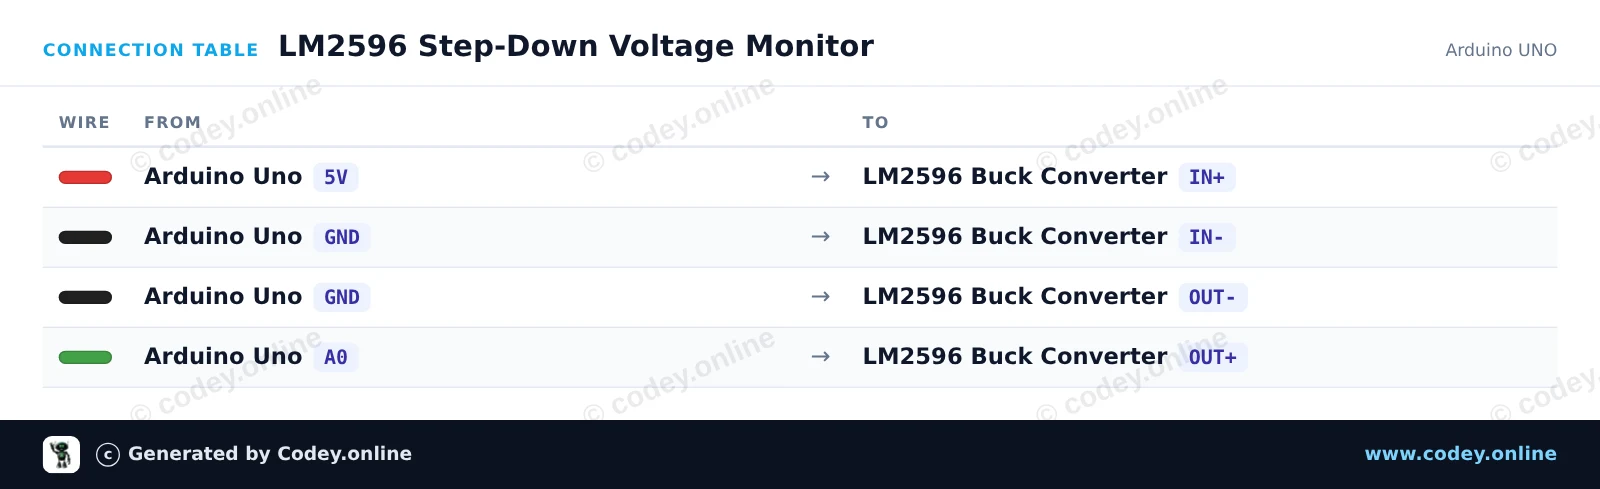
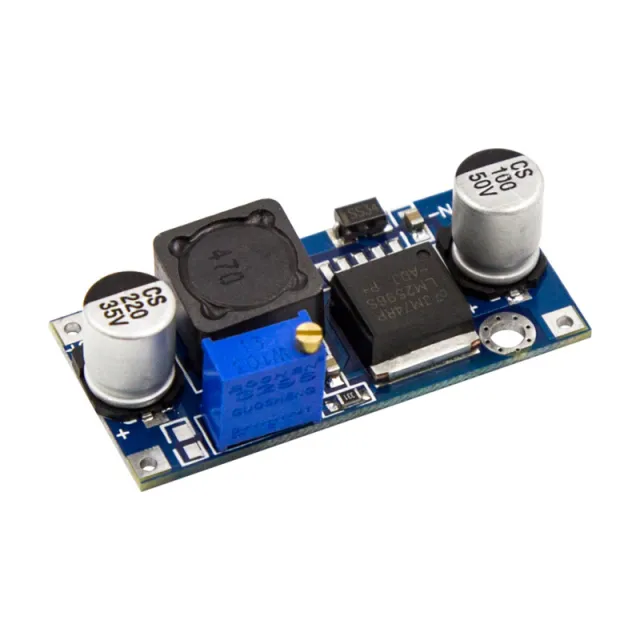
Como ligar o LM2596S Conversor Step-Down Ajustável 4-40V -> 1.25-37V com Display de Voltímetro Integrado a um Arduino UNO ou ESP32, com um sketch de exemplo que podes carregar já.
This project measures the output voltage of an LM2596 buck converter module using the Arduino's analog input pin A0. Power the module's input from the Arduino 5V rail (or external power up to 40V) and turn the onboard potentiometer to watch the measured output voltage change in the Serial Monitor.
/*
* ==================================================================
* Generated by Codey.online — https://www.codey.online
* ==================================================================
* Project : LM2596 Step-Down Voltage Monitor
* Board : Arduino UNO (arduino:avr:uno)
* Parts : Adjustable Step-down Module 3-40VDC 1.5-35VDC LM2596
* Libraries : none (built-in)
*
* Codey Online is an AI-powered browser IDE for Arduino and ESP32.
* Describe your project and Codey writes the code, draws the wiring
* diagram and uploads it to your board, straight from the browser.
* This code is free to use, modify and share, without warranty.
* ==================================================================
*/
const int voltagePin = A0;
void setup() {
Serial.begin(115200);
while (!Serial) {
; // Wait for serial port to connect
}
Serial.println(F("LM2596 Step-Down Module Monitor"));
Serial.println(F("Turn the onboard brass potentiometer to adjust output voltage."));
Serial.println(F("-----------------------------------------------------------"));
}
void loop() {
// Read the analog voltage (0 to 1023 corresponds to 0V to 5V)
int rawValue = analogRead(voltagePin);
float voltage = (rawValue * 5.0) / 1023.0;
Serial.print(F("Raw ADC: "));
Serial.print(rawValue);
Serial.print(F(" | Output Voltage: "));
Serial.print(voltage, 2);
Serial.println(F(" V"));
delay(500);
}
Wiring diagram and example code generated by Codey.online — https://www.codey.online
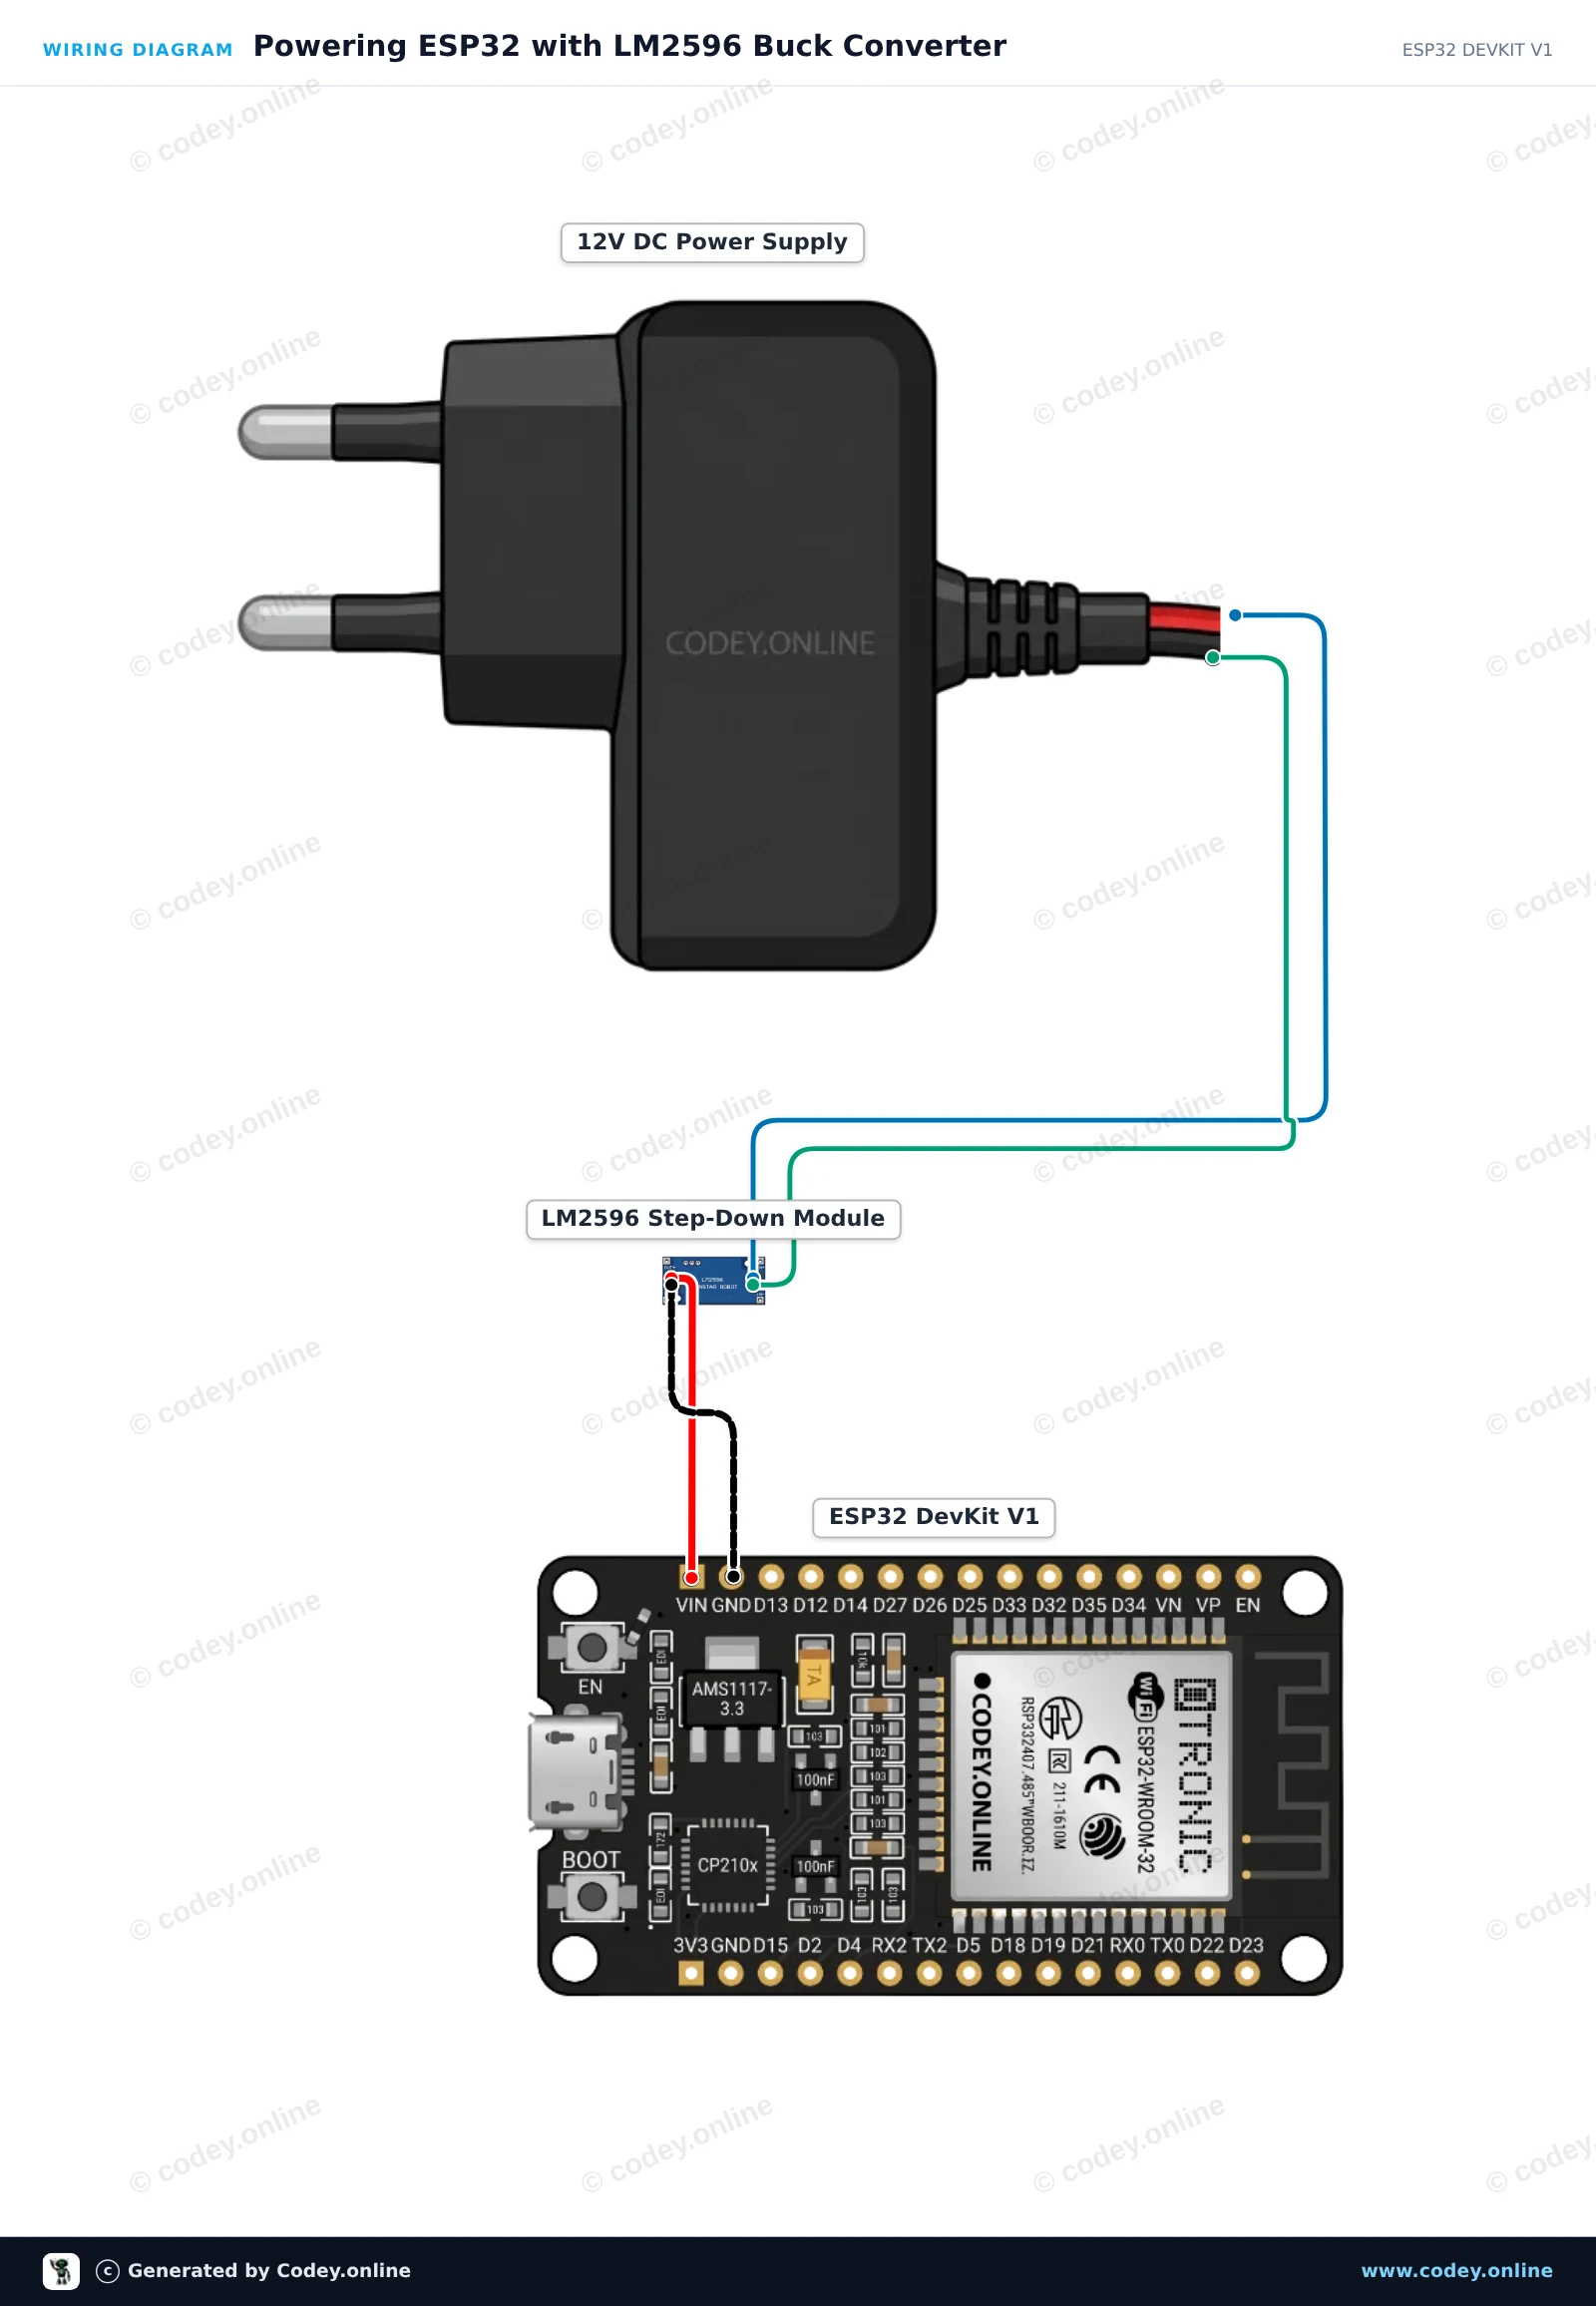
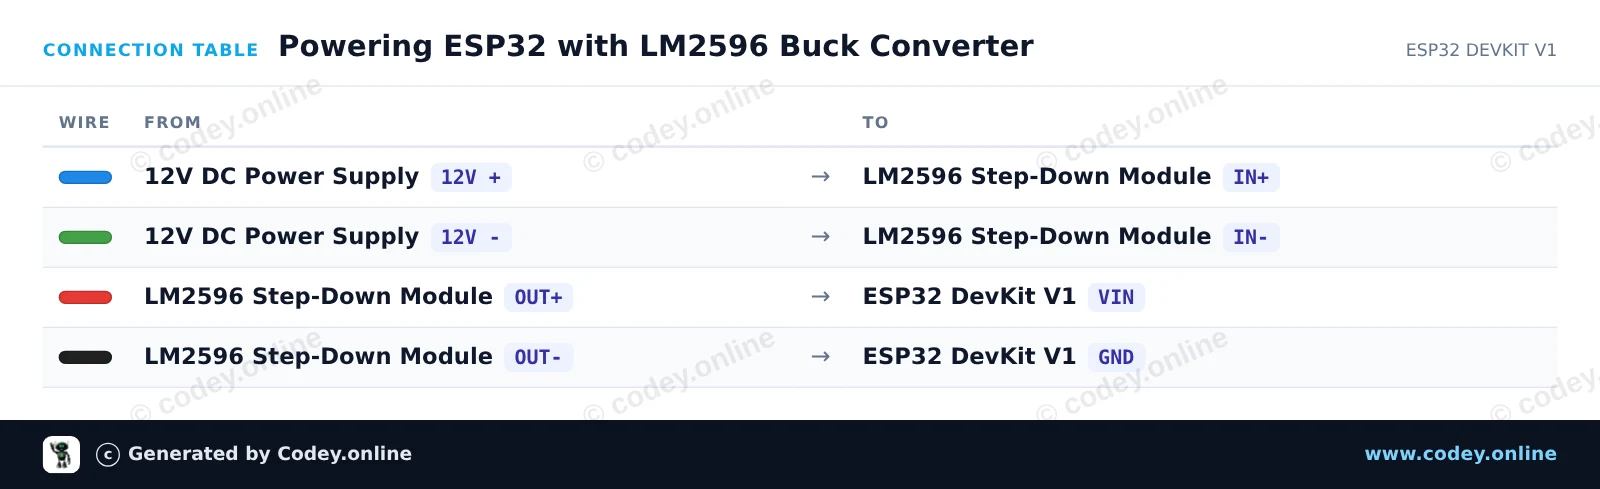
This circuit uses an LM2596 step-down module to regulate a 12V DC input down to a steady 5V for the ESP32's VIN pin. Before connecting the ESP32, adjust the onboard trimmer until the output voltage measures exactly 5.0V with a multimeter. Once connected, the ESP32 blinks its onboard LED and outputs a heartbeat message to the Serial Monitor.
/*
* ==================================================================
* Generated by Codey.online — https://www.codey.online
* ==================================================================
* Project : Powering ESP32 with LM2596 Buck Converter
* Board : ESP32 DEVKIT V1 (esp32:esp32:esp32doit-devkit-v1)
* Parts : Adjustable Step-down Module 3-40VDC 1.5-35VDC LM2596
* Libraries : none (built-in)
*
* Codey Online is an AI-powered browser IDE for Arduino and ESP32.
* Describe your project and Codey writes the code, draws the wiring
* diagram and uploads it to your board, straight from the browser.
* This code is free to use, modify and share, without warranty.
* ==================================================================
*/
const int LED_PIN = 2;
unsigned long counter = 0;
void setup() {
Serial.begin(115200);
pinMode(LED_PIN, OUTPUT);
Serial.println("LM2596 Step-Down Powered ESP32 Started!");
Serial.println("Ensure LM2596 output was calibrated to 5.0V before connecting to VIN.");
}
void loop() {
digitalWrite(LED_PIN, HIGH);
delay(500);
digitalWrite(LED_PIN, LOW);
delay(500);
counter++;
Serial.print("ESP32 running stably on buck regulator. Heartbeat count: ");
Serial.println(counter);
}
Wiring diagram and example code generated by Codey.online — https://www.codey.online
Tensão de entrada 4,0 ~ 40V. (A tensão de entrada deve ser superior à tensão de saída em 1,5 V ou mais)
Faixa de tensão de saída ajustável de 1,25V ~ 37V, ajustável continuamente. (A tensão de entrada deve ser superior à tensão de saída em 1,5V)
Corrente de saída 3A, recomenda-se uso dentro de 2.0A; para correntes elevadas é necessário melhorar a dissipação de calor.
Potência de saída 20W, 15W, melhore a dissipação de calor.
Alta eficiência de conversão, média de 88% (a eficiência está relacionada com a tensão de entrada e saída, corrente e pressão)
Com proteção contra polaridade inversa
Tamanho 6.1 * 3.4 * 12 cm (C * L * A)
Dimensões
Comprimento: 6,5cm
Largura: 3,5cm
Altura: 1,2cm

| Dimensões | 6,1 x 3,4 x 1,2 cm |
|---|---|
| Tensão de entrada | 4,0 ~ 40V |
| Tensão de saída | 1,25V ~ 37V |
| Potência de saída | 20W |
| Corrente de saída | 3A |
| Eficiência | 88% |
bem compacto, fácil de ligar
Ainda não consegui experimentar
Liguei um 24 volts à entrada. Depois de o ter posto em funcionamento, o ch
Funciona como descrito
Em bom estado e funciona
Funciona como deve, fácil de ajustar de 20 para 3 V
Não ficas satisfeito? Tens 30 dias após a receção para devolver o produto.
Tudo sobre devoluções
LM2596S Conversor Step-Down Ajustável 4-40V -> 1.25-37V com Display de Voltímetro Integrado